Along with the other Active Directory (AD) objects, the Organizational Unit (OU) is a crucial object in the AD hierarchical structure. An OU is a container object which can contain other AD objects, such as user accounts, computers, and groups. Also, you can create other sub-OUs for an OU, which allows you to further divide this object into smaller circles. This capability comes to play when you inherit the root OU’s configuration and settings to other OUs while adding additional configuration to each sub-OU separately.
Organization Units play an essential role in administering your active directory environment. The two main purposes for OUs are as the followings:
- Applying Group Policy Object (GPO) to AD objects: Group policies are another administrative requirements that you use in all AD network environments, and it works hand-in-hand with Active Directory. You can’t apply GPOs directly to an AD user, group, or computer object. Instead, you need to create OUs, include the target users, groups, and computers to that OU and then link the GPO to the OU.
- Delegating Administrative Permissions: In your environment, you may need to delegate the administration of some AD objects in an OU to certain users and groups. For that, you put the AD objects in an OU, and then you can delegate administrative permission on that OU to your desired group(s) or user(s). The delegated user(s) or group(s) can administer the OU objects as per their delegated permission.
With that in mind, read on to learn how to create an AD Organizational Unit in Windows Server 2022. The guide also applies to earlier versions of Windows Server OSes.
RELATED: Install and Configure Active Directory (AD DS) in Windows Server 2022.
Create an Active Directory Organizational Unit on Windows Server
Creating an Organizational Unit is as simple as a few clicks. The main complexity, however, is proper planning and designing it according to your environment. Truly, it is more a matter of design than implementation. So, you should care of a proper plan before creating an OU.
You can create an OU using different tools, such as Active Directory Users and Computers (ADUC), Active Directory Administrative Center (ADAC), and Windows PowerShell cmdlets. The first two methods are GUI-based, and the third method is command line-based. This guide covers GUI-based methods.
Also, note that you should log in with an AD account with administrator permission to create an OU in Active Directory.
Create an Organization Unit in Windows Server Using ADUC
You can use the ADUC console both locally on the Domain Controller and remotely on a domain-joined computer. Add the ADUC RSAT tool on a Windows 11 or 10 client machine to remotely administer your Active Directory. With that said, below are the steps.
- Open the ADUC console. To do so, you can use the
dsa.msccommand in the Run utility or by navigating through Server Manager >> Tools >> Active Directory Users and Computer. You can also open the Administrative Tools from the Start Menu and open ADUC from there.

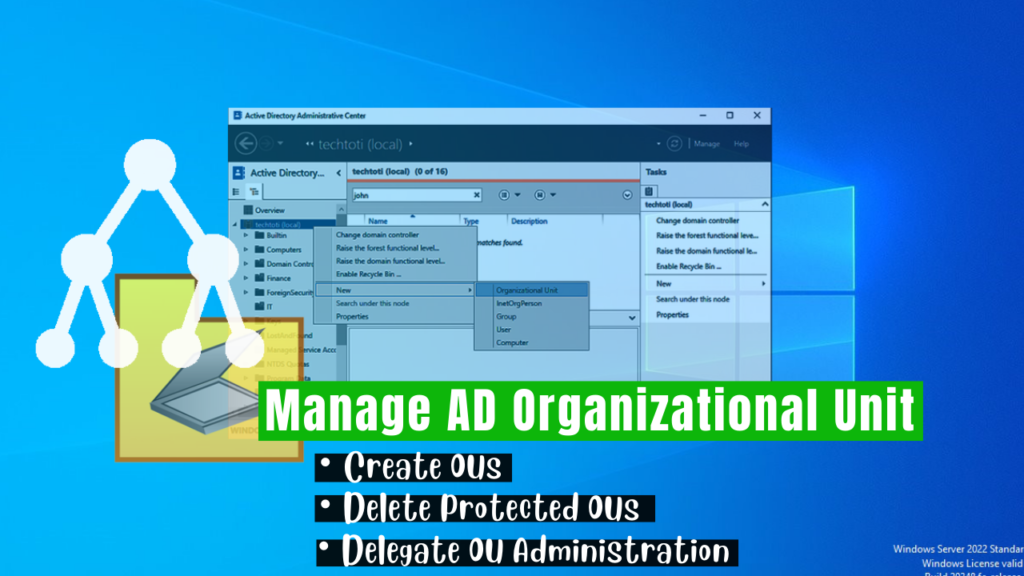
- Once on the ADUC console, expand your domain and right-click the OU or Container in which you create the new OU. Then select New -> Organizational Unit.

- Put a meaningful name for your OU and click OK.
The “Protect the container from accidental deletion” is to keep your OU from deletion. If it is checked, you can not delete your OU unless you uncheck it from the OU properties. I discussed it below.

Your new Organizational Unit is created to this end. Now, you can move your AD users, groups, and computers into it by just dragging and dropping. You can also use the Move option of the object right-click menu to move that object to an OU.
Create Active Directory Organizational Unit Using ADAC
The Active Directory Administrative Center (ADAC) is a preferred tool to manage your AD objects as it is a modern console in comparison to the ADUC console. See the below steps to create an OU using the ADAC console.
- Open the ADAC console. You can open it from the Run (
dsac), from the Tools menu in the Server Manager and from the Administrative Tools.
- Once on the ADAC window, select the Tree view, and locate the container, OU, or other AD objects in which you want to create a new OU. Right-click it and select New >> Organizational Unit.

- Put a proper name for your new OU and optionally fill out other fields. Once set, click OK.

Your new OU should be added where you created it in your Active Directory hierarchy.
Delete a Protected Active Directory Organizational Unit
As I mentioned earlier, If you have checked the “Protect container from accidental deletion” checkbox while creating an OU, you can not delete that OU unless you find and uncheck this checkbox. If you attempt to delete it, you will face the error shown in the below shot. You can uncheck this checkbox using either the ADUC or ADAC console discussed below.

To delete a protected OU using the ADUC console, follow the below steps.
- Open the ADUC console.
- Click View on the menu bar and click Advanced features.

- Right-click the target OU and select Properties.
- On the Properties window, open the Object tab, uncheck the “Protect container from accidental deletion” checkbox, and click OK.

- Right-click your OU and click Delete.
- Click Yes on the warning window.
- On the Confirm for subtree deletion window, check the “Use Delete Subtree server control” checkbox if you want to delete all the objects inside the OU. Then, click Yes.

That is it with using the ADUC tool.
The procedure for deleting the protected OU with the ADAC window is almost similar to that of using the ADUC window. With this method, select the Tree view, right-click the OU in the ADAC window, and open Properties. Then, uncheck the “Use Delete Subtree server control” option in the Properties window and click OK, as shown in the below image. Then, you can delete the OU, as explained in the previous section, without any errors.

Delegate Administration of an Organizational Unit
To delegate the administration of an OU to certain users or groups, put the individual AD user(s) and/or AD group(s) to which you want to delegate administration into a group. Then, put the objects to be controlled in an OU. Next, you can delegate the administration of objects in the OU to the group containing your administering individual or group. With this prerequisite set, follow the below steps to delegate the administration of an OU to users or groups.
- Open the ADUC console, as discussed in the above sections.
- Right-click the target OU (one that contains the object to be controlled) and click Delegate Control.

- Click Next on the welcome page of the wizard.
- Click Add to add the individual or group to which you want to delegate administration of the OU objects. Then, enter the object name and click the Check Names button to find the object. Once found, click OK to add. Finally, click Next on the wizard to move to the next page.

- On the Tasks to Delegate page, check out the administration tasks you want to delegate to the added AD object(s) and click Next. You can also use the create a custom task to delegate option to manually create a task.

- Click Finish on the last page of the wizard.
Note: if you choose the create a custom task to delegate in step 5, you need to configure the AD object type and the Permissions pages of the wizard that appears upon clicking Next in step 5.
Wrap Up
Organizational Unit (OU) is a very useful container object in Active Directory. It simplifies applying group policies to particular AD objects such as users, groups, and computers. OUs also make it possible to delegate the administration of specific AD objects to AD users and groups without granting them administrator privileges.
In this guide, with a brief overview of the OUs first, you learned how to create an OU using both ADUC and ADAC consoles in Windows Server 2022. You also learned how to delete a protected OU in Active Directory. Lastly, the article showed you how to delegate control of an OU to AD individual users or groups.
I hope you find it helpful. Feel free to put your questions and thoughts in the comment section. Also, if this guide can help your friends, make sure to share it with them. Thank you!