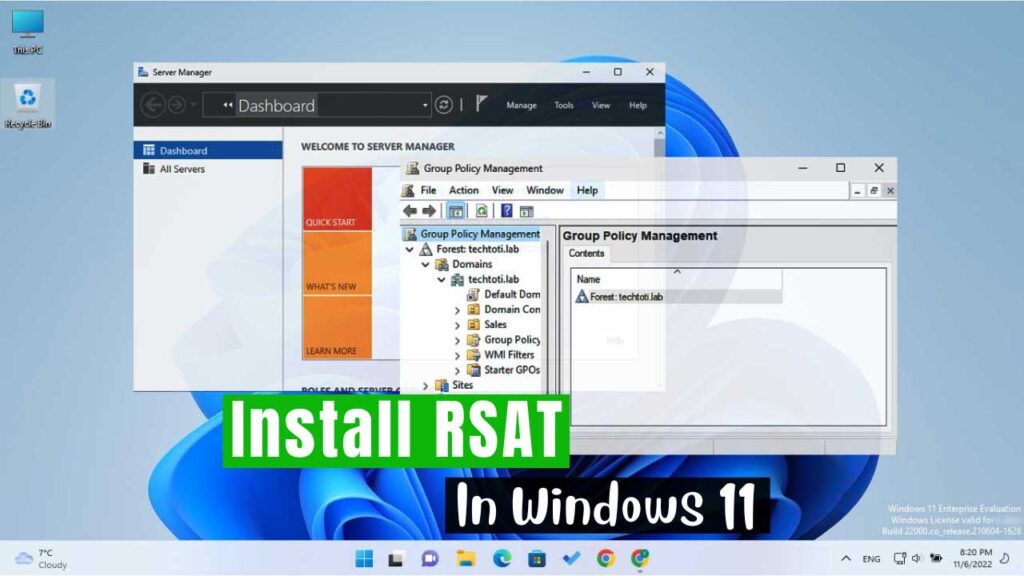
Remote Server Administration Tools (RSAT), as its name refers, is a collection of tools we use to administer our network remotely from other network-joined computers, including a Windows 11 and 10 client computer.
It is a bad idea to locally log into your Domain Controller machine(s) to administer your network. This approach provides critical security holes for your Domain Controller(s) and network resources. That is one of the reasons we use RSAT – to minimize the security vulnerabilities originated by the local administration of the DC machines. Of course, the remote administration is helpful from other perspectives, too, which the RSAT provides us.
Before Windows 10 October 2018, RSAT was an external software you could download and install on your Windows 10. From Windows 10 October 2018 and later, and in Windows 11, the RSAT tools are available as optional features. From the optional features, you can choose, download, and install each of the RSAT tools separately, as you will learn throughout this guide. So, you do not need to download and install external software for RSAT on Windows 11 and the latest version of Windows 10.
With that said, the rest of this guide covers how you can install the RSAT tools on your Windows 11 computer. While this guide is written based on Windows 11, it works almost the same on the latest version of Windows 10.
Steps to Install Remote Server Administration Tools on Windows 11
As mentioned above, RSAT is a collection of separate administrative tools which are available as additional features on Windows 11 and Windows 10 version 1809 (October 2018) and later. To install RSAT on these versions of Windows, follow the steps discussed below. For Windows 10 version 1803 and earlier, download the RSAT from the Microsoft website and install it on your computer.
Note: you need to provide the domain administrative privileges to install RSAT on a domain-joined Windows 11 and 10.
- Open Settings on your Windows 11. To do so, use the Windows + I shortcut keys or launch it from the start menu.
- Click Apps on the right-hand side and open Optional Features on the right-hand side.

- Click the View Features button in the top right corner.

- Search for “rsat” in the search box, and all the RSAT tools will show up. Check out your desired RSAT tool(s). For example, RSAT: Server Manager, RSAT: Group Policy Management Tools, etc. Click Next once selected. You can check out as many of them as you need to add.

- Review your selected tools on the next screen, and click Install to install them. Also, click Edit or add more optional features if you should add or remove tools to/from this list.

- Wait for a while until it finishes the installation of your selected RSAT tools. You can see the progress in the optional features main window, as shown in the below shot.

- Once installed, search for them in the Start Menu search box and open them. You can open the RSAT tools the way you open them locally on your Windows Server DC machine.
That is all about installing and launching the Remote Server Administration Tools in a Windows 11 client machine.
RELATED: Block Access to Control Panel and PC Settings Using Group Policy.
Wrap Up
Remote Server Administration Tools (RSAT) is a critical tool you can use to remotely access and administer your network from a Windows 11 client machine. Overall, it is a popularly helpful and vastly used tool that also enhances the security of your network as you no longer need to directly log into your Domain Controller machines locally for the administration of your network environment.
I hope you enjoy reading this guide. Let me know your questions and thoughts in the comment section. Also, don’t forget to share this guide with those who can find it helpful. Thank you, and at the end, Happy New Year, 2023!