Windows 11, like Windows 10, has a built-in feature that lets you share your Internet connection with other Wi-Fi-enabled devices such as smartphones and PCs. If you have an internet connection through ethernet or Wi-Fi in your Windows 11 PC, you can turn your PC into a mobile hotspot and share your connection with other devices.
In fact, you create your own Wi-Fi network with a personalized name and password, just like a wireless router. Then, you can connect other devices to this network through Wi-Fi by using the network name and password associated with your wireless network. Also, remember that your PC should support wireless connectivity to be capable of this configuration.
With the above overview, the rest of this article covers a step-by-step guide on how you can share your PC’s Internet connection in Windows 11.
You may also like to read How to Bring Back the Classic Context Menu to Windows 11.
Steps to Share Your Internet Connection in Windows 11
You just need to enable and configure the Mobile Hotspot feature in your Windows 11 to share your internet connection with other devices. To do so, walk the steps below.
- Go to the Start Menu in your Windows 11 and open Settings. If it is not there by default, search for it in the Start Menu.

- Click on Network and Internet on the right menu pane.
- Open Mobile Hotspot on the right pane.

- Switch the Mobile Hotspot toggle button to On.
- Click on Properties to see your Hotspot’s name and password.

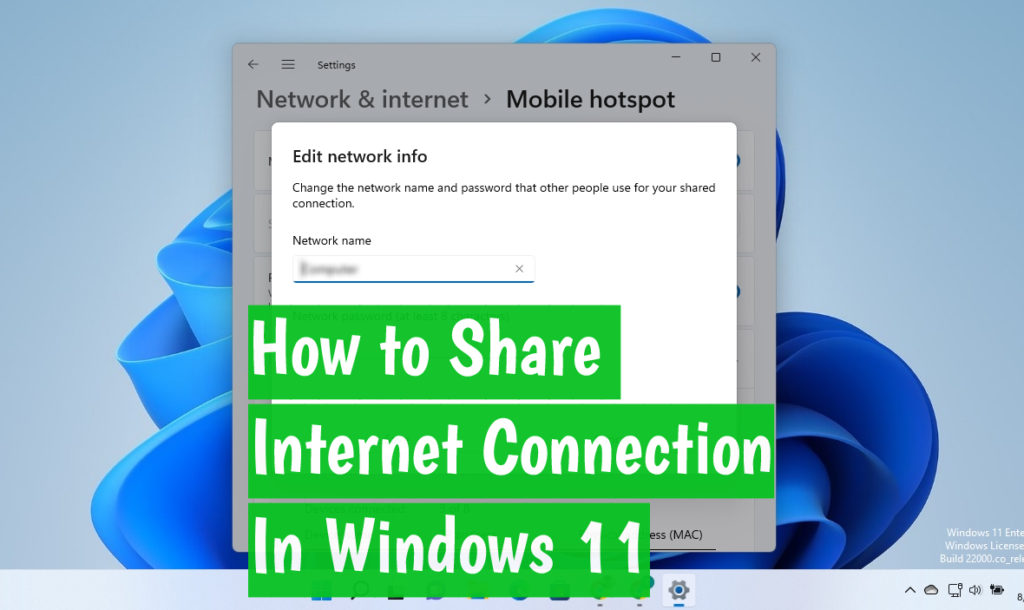
- Click on the Edit button to personalize your Hotspot’s properties (name and password).
- On the small window, put the name and password of your desire for your network. Remember that your password should be at least eight characters long.
- Click on the Save button once you have set them. See the below picture for the last three steps.

That is it. You have shared your PC internet connection in Windows 11 using the above steps. You can join this network from any Wi-Fi-enabled device using the name and password you set for your network.
You may like to read Free Download Windows 11 ISO File.
Add Mobile Hotspot to Windows 11 Quick Access Menu
For ease of use and quick access, it is a great practice to add your Mobile Hotspot to the Windows 11 Quick Settings menu. Once you have configured your Mobile Hotspot in system settings, you don’t need to go all the way through settings to just turn it on or off. Instead, you can add it to the Quick Settings menu and simply turn it on or off with a single click.
Quick Settings is a fast way to access the most used settings in Windows 11, such as Wi-Fi, Bluetooth, Airplane mode, etc. It is located in the Quick Access Menu at the bottom-right corner of your desktop, beside the Date and Time.
By default, the Quick Settings menu includes Wi-Fi, Airplane mode, sound volume adjustments, settings icon, and so more. However, you can customize it as you desire and add or remove setting(s). If you share your Windows 11 internet connection most often, it will be handy to add the Mobile Hotspot in the Quick Settings menu. See the below steps to do so.
- Click on the Quick Setting Menu at the bottom-right corner of your desktop.

- Click on the Edit icon

- Click on the Add icon and select Mobile Hotspot from the menu. Finally, click on the Done icon.

Your Mobile Hotspot is added to the Quick Settings menu. You no longer need to go to the system setting to turn it on or off unless you need to change the name or password for your Mobile Hotspot.
RELATED: Find Your WiFi Password in Windows 11/10/8: 2 Methods
Final Word
Like Windows 10, it is easy to share your PC’s internet connection in Windows 11 using the Mobile Hotspot built-in feature. Whether you have a wired or a wireless connection in your Windows 11 PC, you can share it via Wi-Fi to other Wi-Fi-enabled devices using the steps in this guide. Another cool thing to consider is to add the Mobile Hotspot to the Quick Settings menu. With that added, you can quickly turn it on or off.
I hope you found this guide helpful and enjoyed reading it. Make sure to share your thoughts and questions in the comment. Also, if you think it is useful to your friends, please share it with them on social media.
RELATED: 3 Easy Ways to Create a Windows 11 Bootable USB Drive: Step-By-Step.